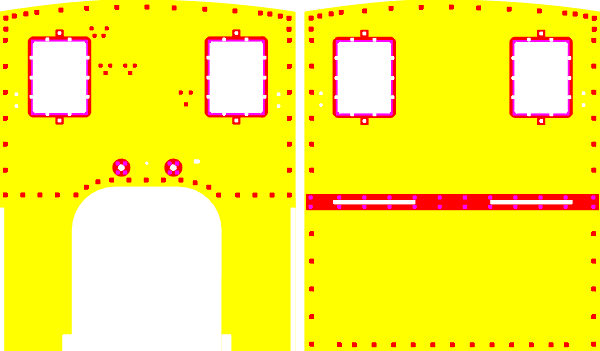
My intention is to give a brief overview of the etching process and some particular hints and tips to get around potential traps.
|
|
If you can read Swedish - read Mats Björkelunds article on this subject in Modelltag 96. Everything I know I’ve learned from Mats and many tips here comes from his article.
|
|
The idea:
|
The whole trick is based on the so called CMYK colour scale. The idea is to use two of the base colours, yellow and magenta. If you combine 100% yellow and 100% magenta you get red.
|
|
To etch the sheet metal we need two films. The sheet will be etched to half of its thickness from each side. Here comes the key: We use red for areas which should be present on both films and yellow and magenta for respective over and under film. That is, we use red wherever full plate thickness is needed, yellow and magenta means half plate thickness from respective side - simple!
|
|
|
|
|
|
|
|
|
|
Construction:
|
Your construction can be based on measurements, original drawings and estimations from photos. The idea is to transfer the parts of your prototype which you intend to etch into scale sketches.
|
|
I’ve always used 0,3 mm brass for my kits. The plates can be laminated if double plate thickness is needed. For valve gear, coupling rods etc 0,5 mm nickel-silver might be a good option.
|
|
Folding lines should have the same width, here called “wf”, as the used plate thickness.
|
|
Compensate for folding lines: If you have a carbody with the width “w”, make a base plate with the width “w”- 2x “wf”, then the two folding lines and outside them the carbody sides. When folded the total carbody width will be “w”.
|
|

